Wikis & verified pages
Use wikis and verified pages to maintain important information more easily ✅
Wikis, page owners, and verified pages can help you centralize, find, and update knowledge with ease.
Create a wiki

Note: At this time, only pages can be turned into wikis. You can’t turn a database into a wiki.
To turn a page into a wiki:
Select
•••at the top of the page.Select
Turn into wiki.
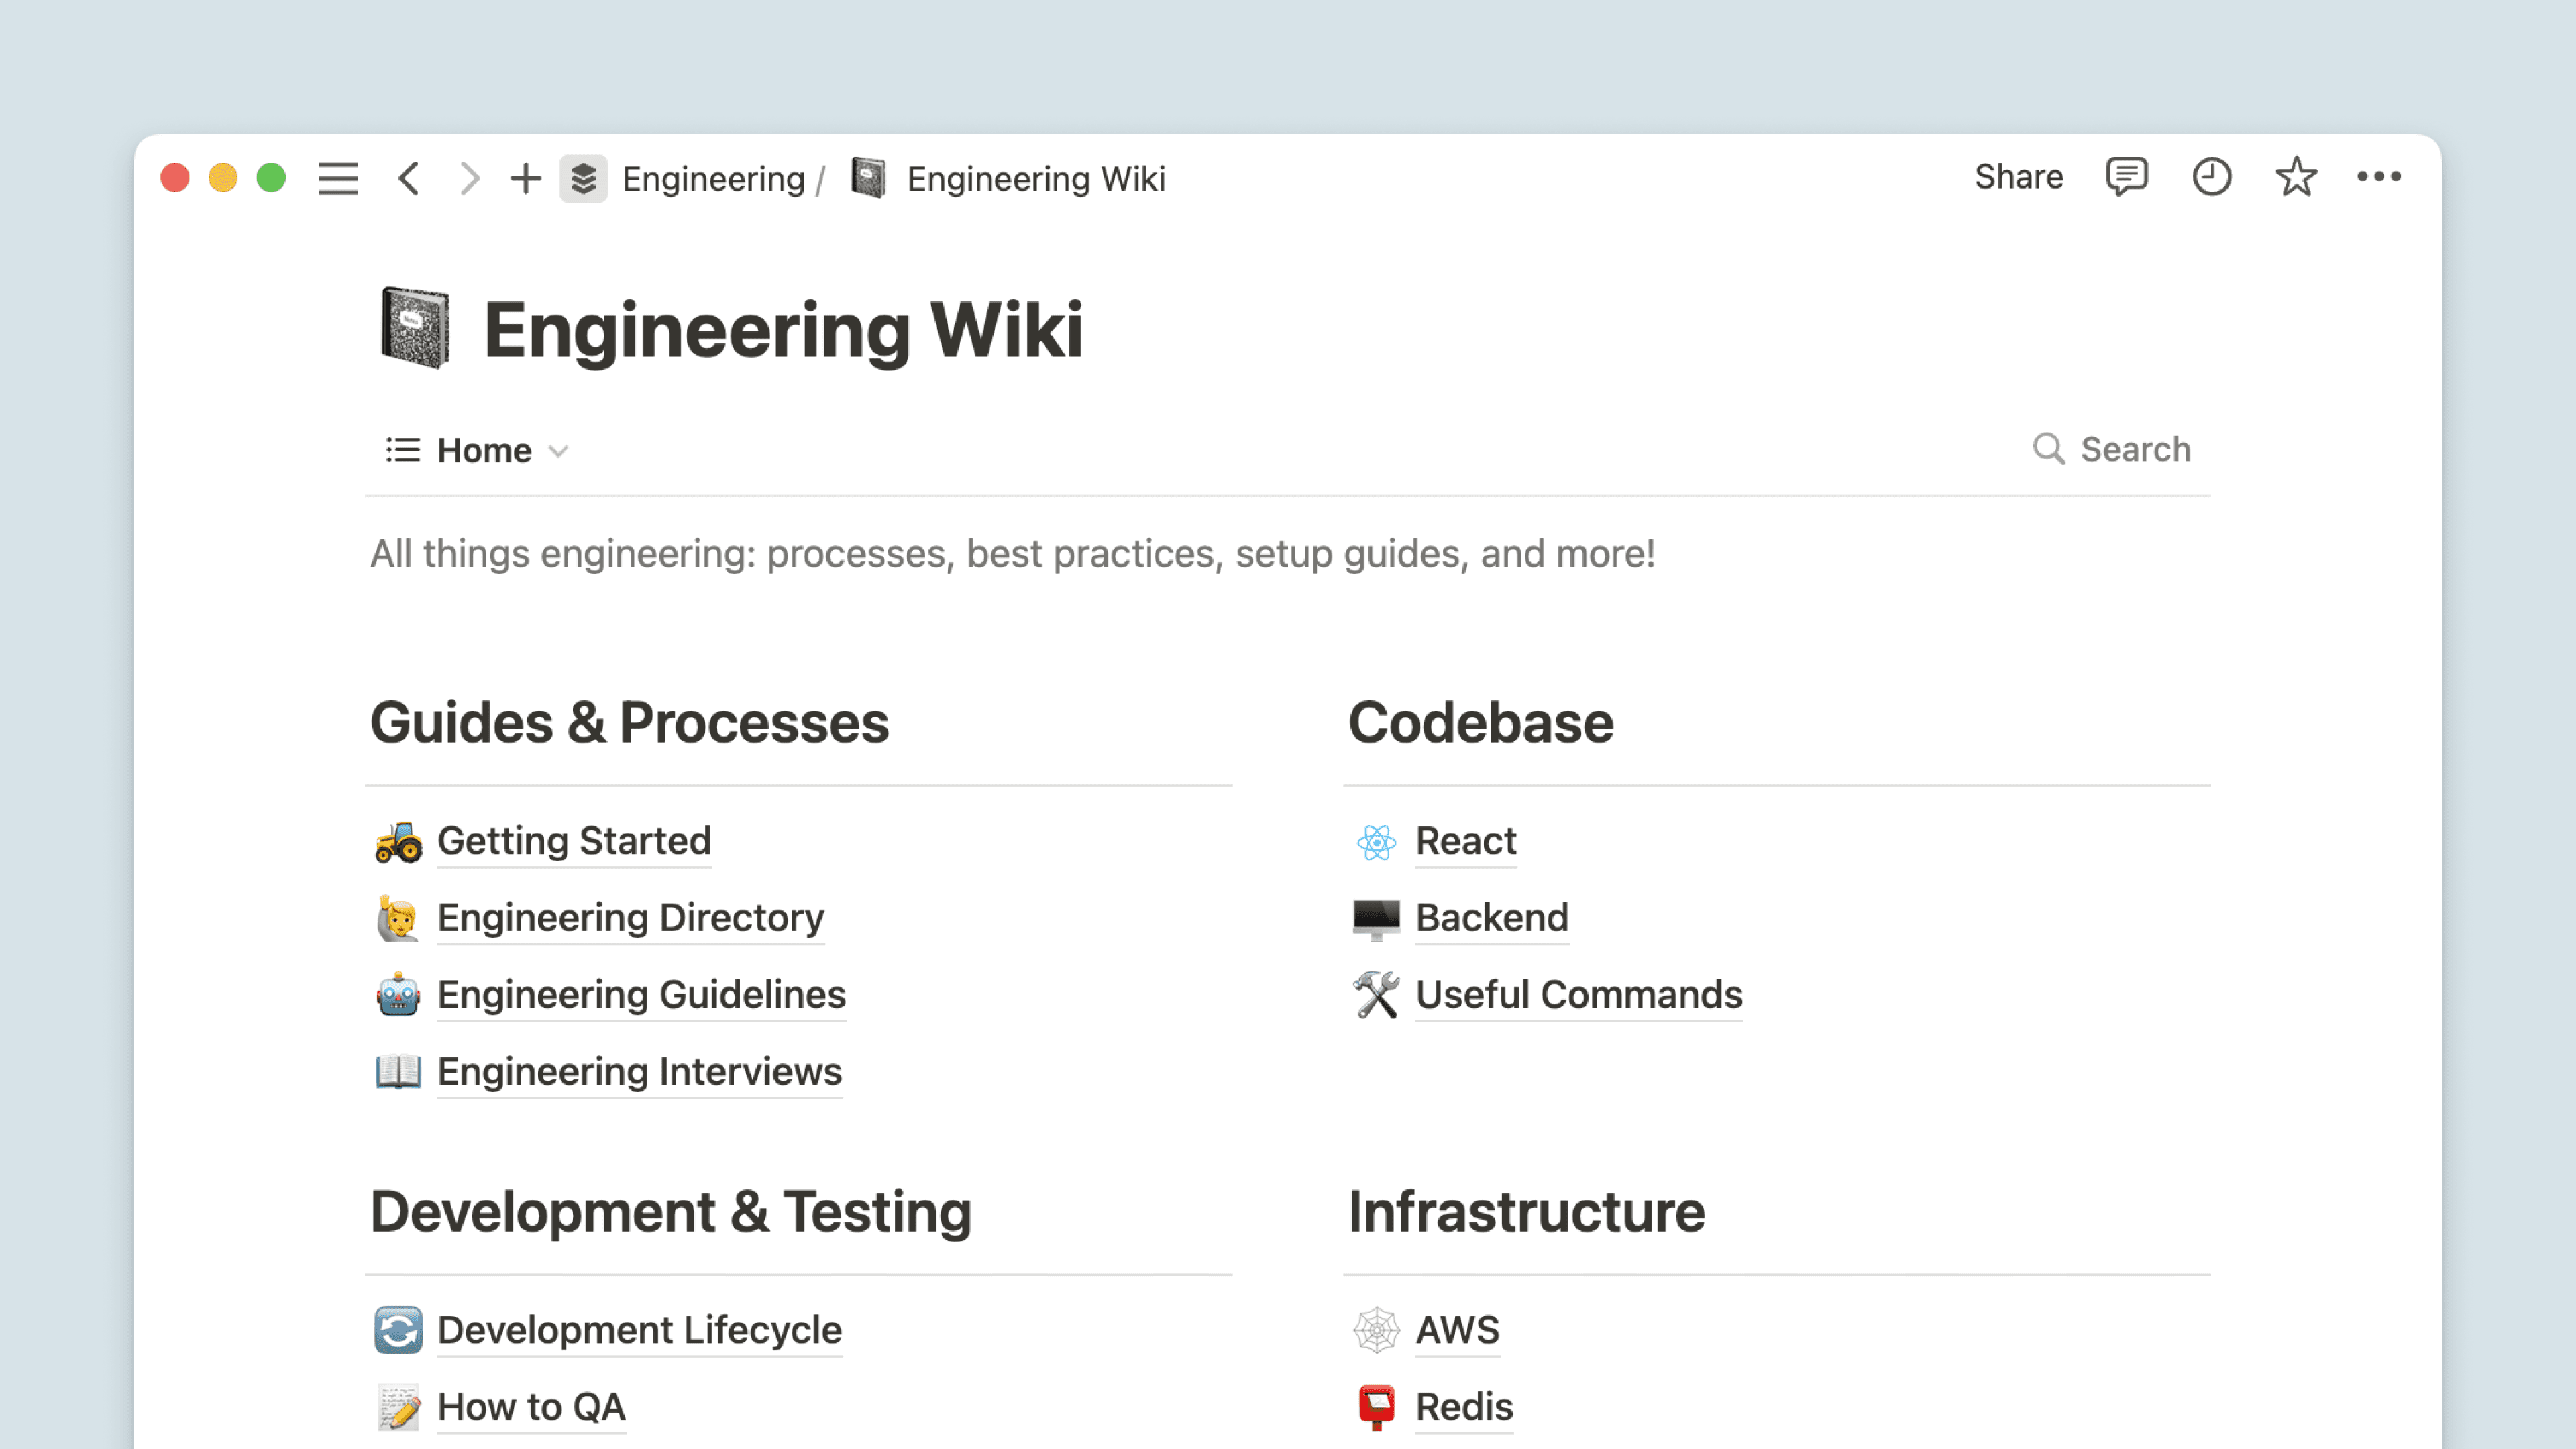
Wikis come with three default views:
Home: This view shows you all of the pages within the wiki. You can add any blocks to customize the page to your liking — for example, you could have a callout that explains what kind of pages the wiki contains, or which team owns the wiki. You could also organize your pages by creating headings, then dragging and dropping specific pages under those headings.All pages: This is a database view of all the pages within the wiki.Pages I own: This is a database view showing only the pages that you own.
You can create additional views with other layouts like a calendar, timeline, or list.
Undo a wiki
If you no longer want a page to be a wiki:
Select
•••at the top of the page.Select
Undo wiki.
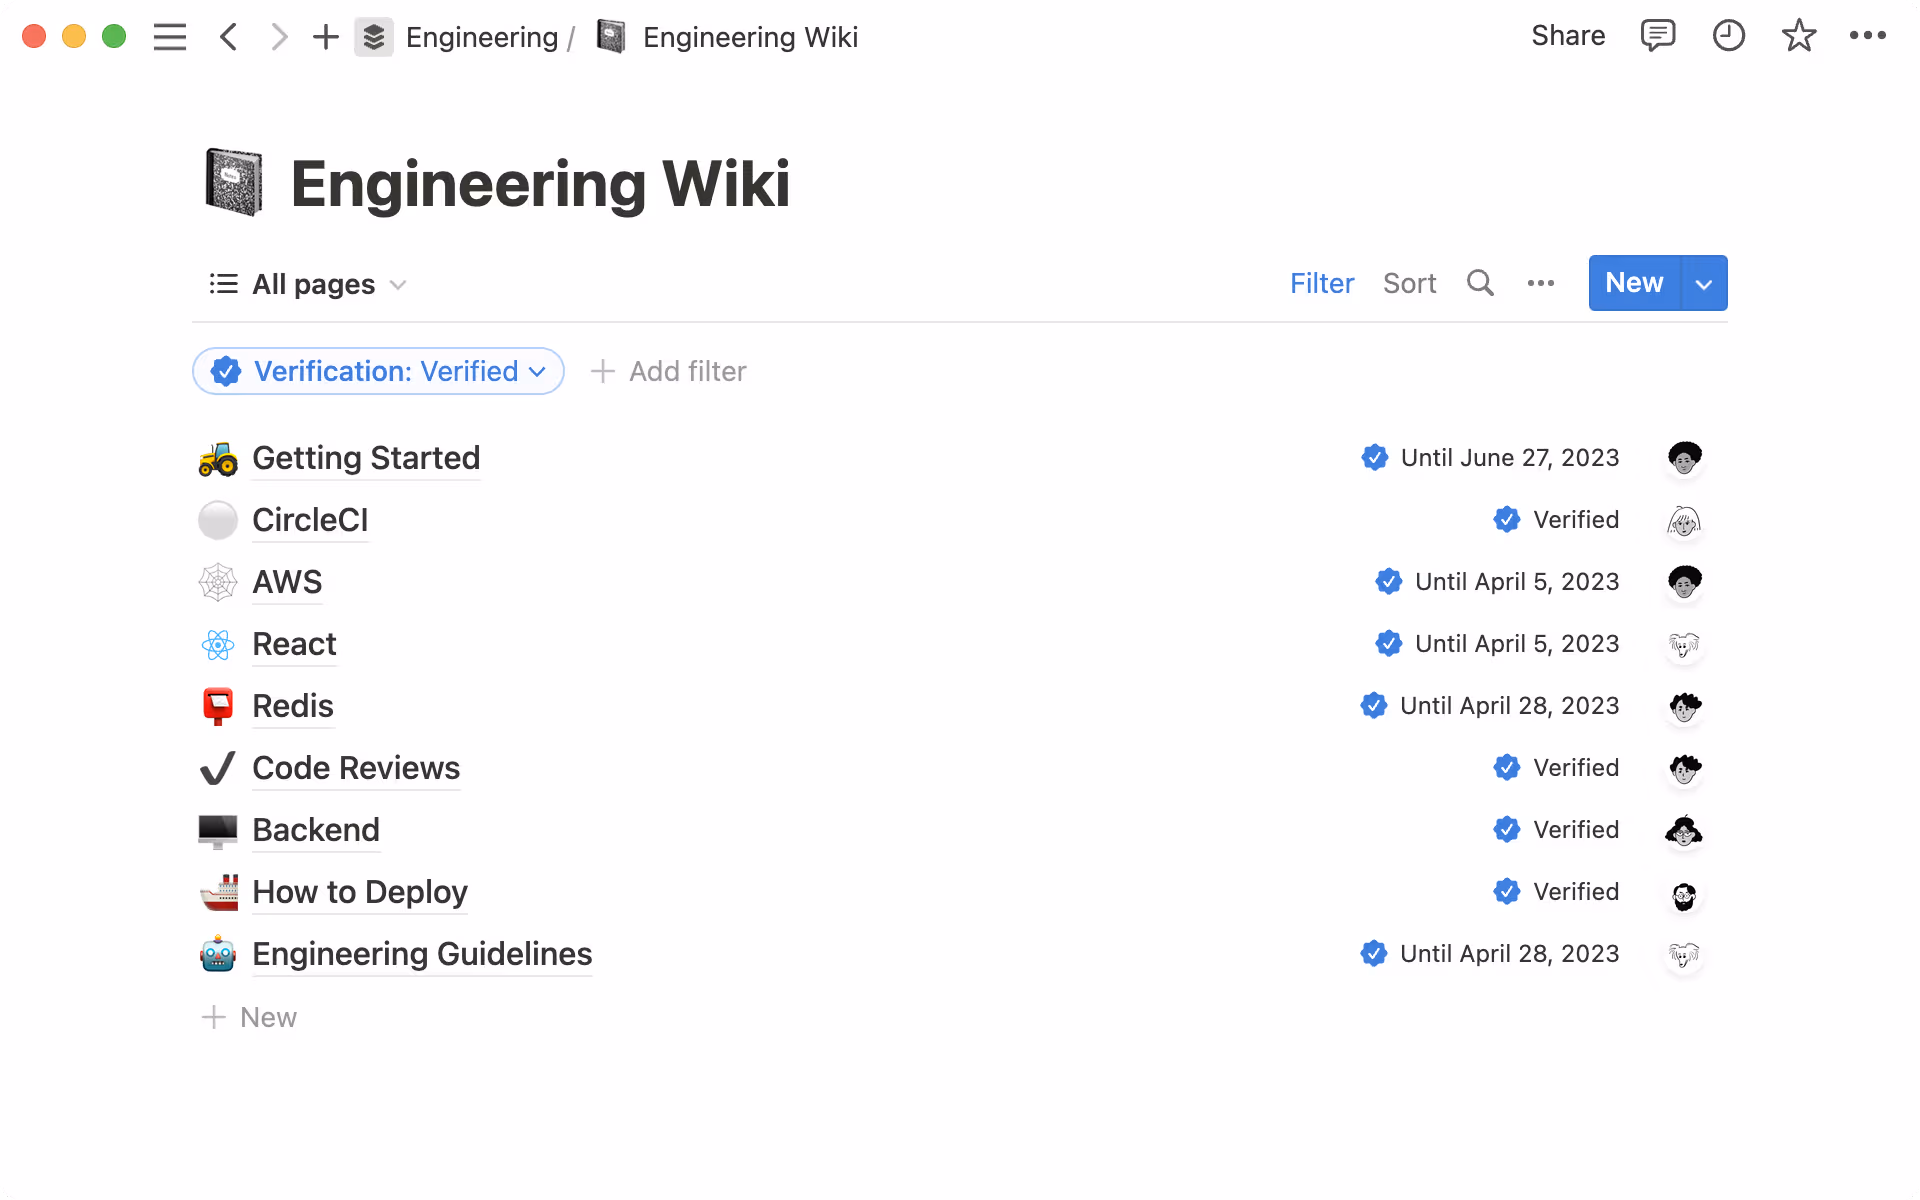
You can verify content in your workspace to show that its contents are up to date. You can choose to keep a page verified for a certain period of time or indefinitely.
Verified pages will have a blue check mark next to their name when they’re @-mentioned, and when they’re displayed in Notion search results. When a page’s verification expires, its owner will be notified in their Notion inbox as well as via email.
Verify pages in wikis
Note: By default, whoever creates a page in a wiki becomes the page’s owner, but you can change the page owner at any time.
To verify a page in a wiki:
Open a wiki page you own.
Click on the
Verificationsection at the top.Choose whether you want to verify the page until a specific time or indefinitely.
To verify a page from a database view in a wiki:
Select the verification property value for a page you own.
Choose whether you want to verify the page until a specific time or indefinitely.
Once verification expires, page owners will be notified to re-verify the page.
Verify individual pages in your workspace
Note: This feature is only available on the Business or Enterprise Plan.
You can verify pages that don’t belong to a wiki. To do this:
Open a page for which you have
Can editaccess orFull access.Hover over the page name.
Select
Verify.Choose whether you want to verify the page until a specific time or indefinitely.
For a page to be verified, it must have at least one owner. To add owners to a verified page:
Open a page for which you have
Can editaccess orFull access.Select
Verifiedat the top.Select
Owner.Add people from your workspace.
Verify pages in a database
Note: This feature is only available on the Business or Enterprise Plan.
While you can verify individual pages in a database following the instructions above, you can also add verification as a property to an entire database to verify all of the database’s pages.
To add verification to a database (not a wiki):
Select
•••at the top of the database →Properties→New property.Select
Verification. This will automatically also add anOwnerproperty to the database.Select the verification property value for a page you have
Can editaccess orFull accessto.Choose whether you want to verify the page until a specific time or indefinitely.
By default, a page’s creator will also become its Owner. To change the settings for the Owner property:
Select
•••at the top of the database →Properties→Owner.Select
Limitto decide if each database page should only have1 Personas the owner, or if there should beNo limit.Select
Defaultto decide if theOwnerfor any new pages created in the database should be the person the page wasCreated by, or if there should beNo default.
Remove verification
To remove verification for a page in a wiki or an individual page:
At the top of the page, select
Verified.Select
Remove verification.
To remove verification for page in a database with a verification property:
Select the verification property value for the page.
Select
Remove verification.
Manage all your verified pages
To see all of the verified pages in your workspace:
Go to
Settingsin your sidebar.Select
Verified pages.
From here, you can search for a specific page, filter by owner or teamspace, and more.